TABLE OF CONTENTS
Things to know
The Asset Management module is a basic repository for your assets (images, pdfs, ...). It is not meant to be a full Digital Asset Management Solution, but rather provide basic storage for images to be used in CHILI Editor.
Organize your assets
The way how you organize your assets is up to you. We offer a convenient way to make folders and subfolders. On the first level its only possible to make folders. So its not possible to upload assets on the top-level. Folders behave exact the same way you are used to working in your Windows Explorer or MacOS Finder

Viewing in different ways
Icon view
When browsing in icon view, you can visually browse through your folders and resources.

List view
You can use the icon top-right of the screen to switch between list view and icon view.

Search view
You can enter any keyword in the search field and you will get a list of all assets found in the environment with that keyword.
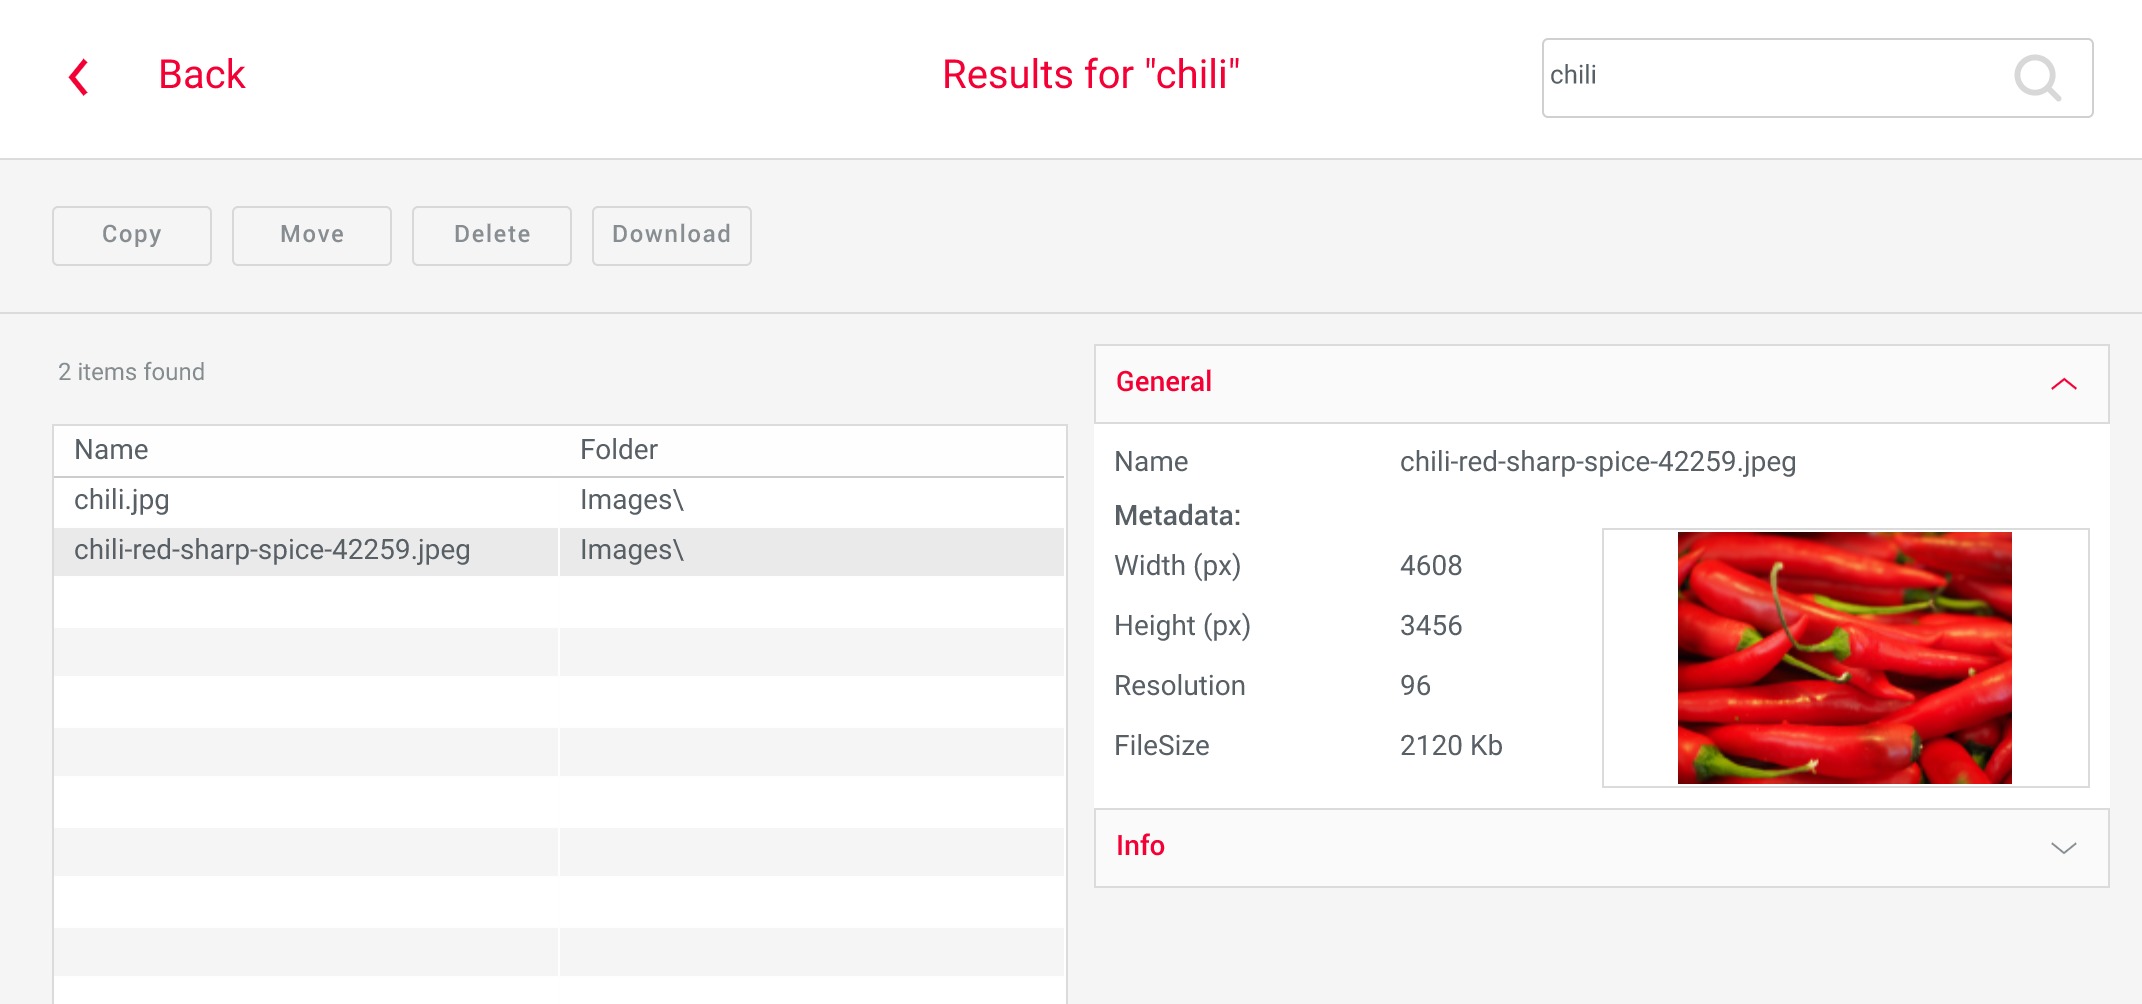
Selecting an asset opens a pane on the right showing info on the selected asset. When multiple assets are selected, the info of the first selected asset is shown.The info is divided into subcategories:
- General: The general tab gives you metadata information. (dimensions, resolution)
- Info: The info tab give you object history. When was it created, by whom.
For folders, only the Library info is shown, with an editable description.

Detail view
When double-clicking an asset, the detail view is shown. This view shows a bigger preview and all info on the asset. You can step through the assets in the folder by using the navigation arrows under the assets name.

Uploading files
Through the BackOffice
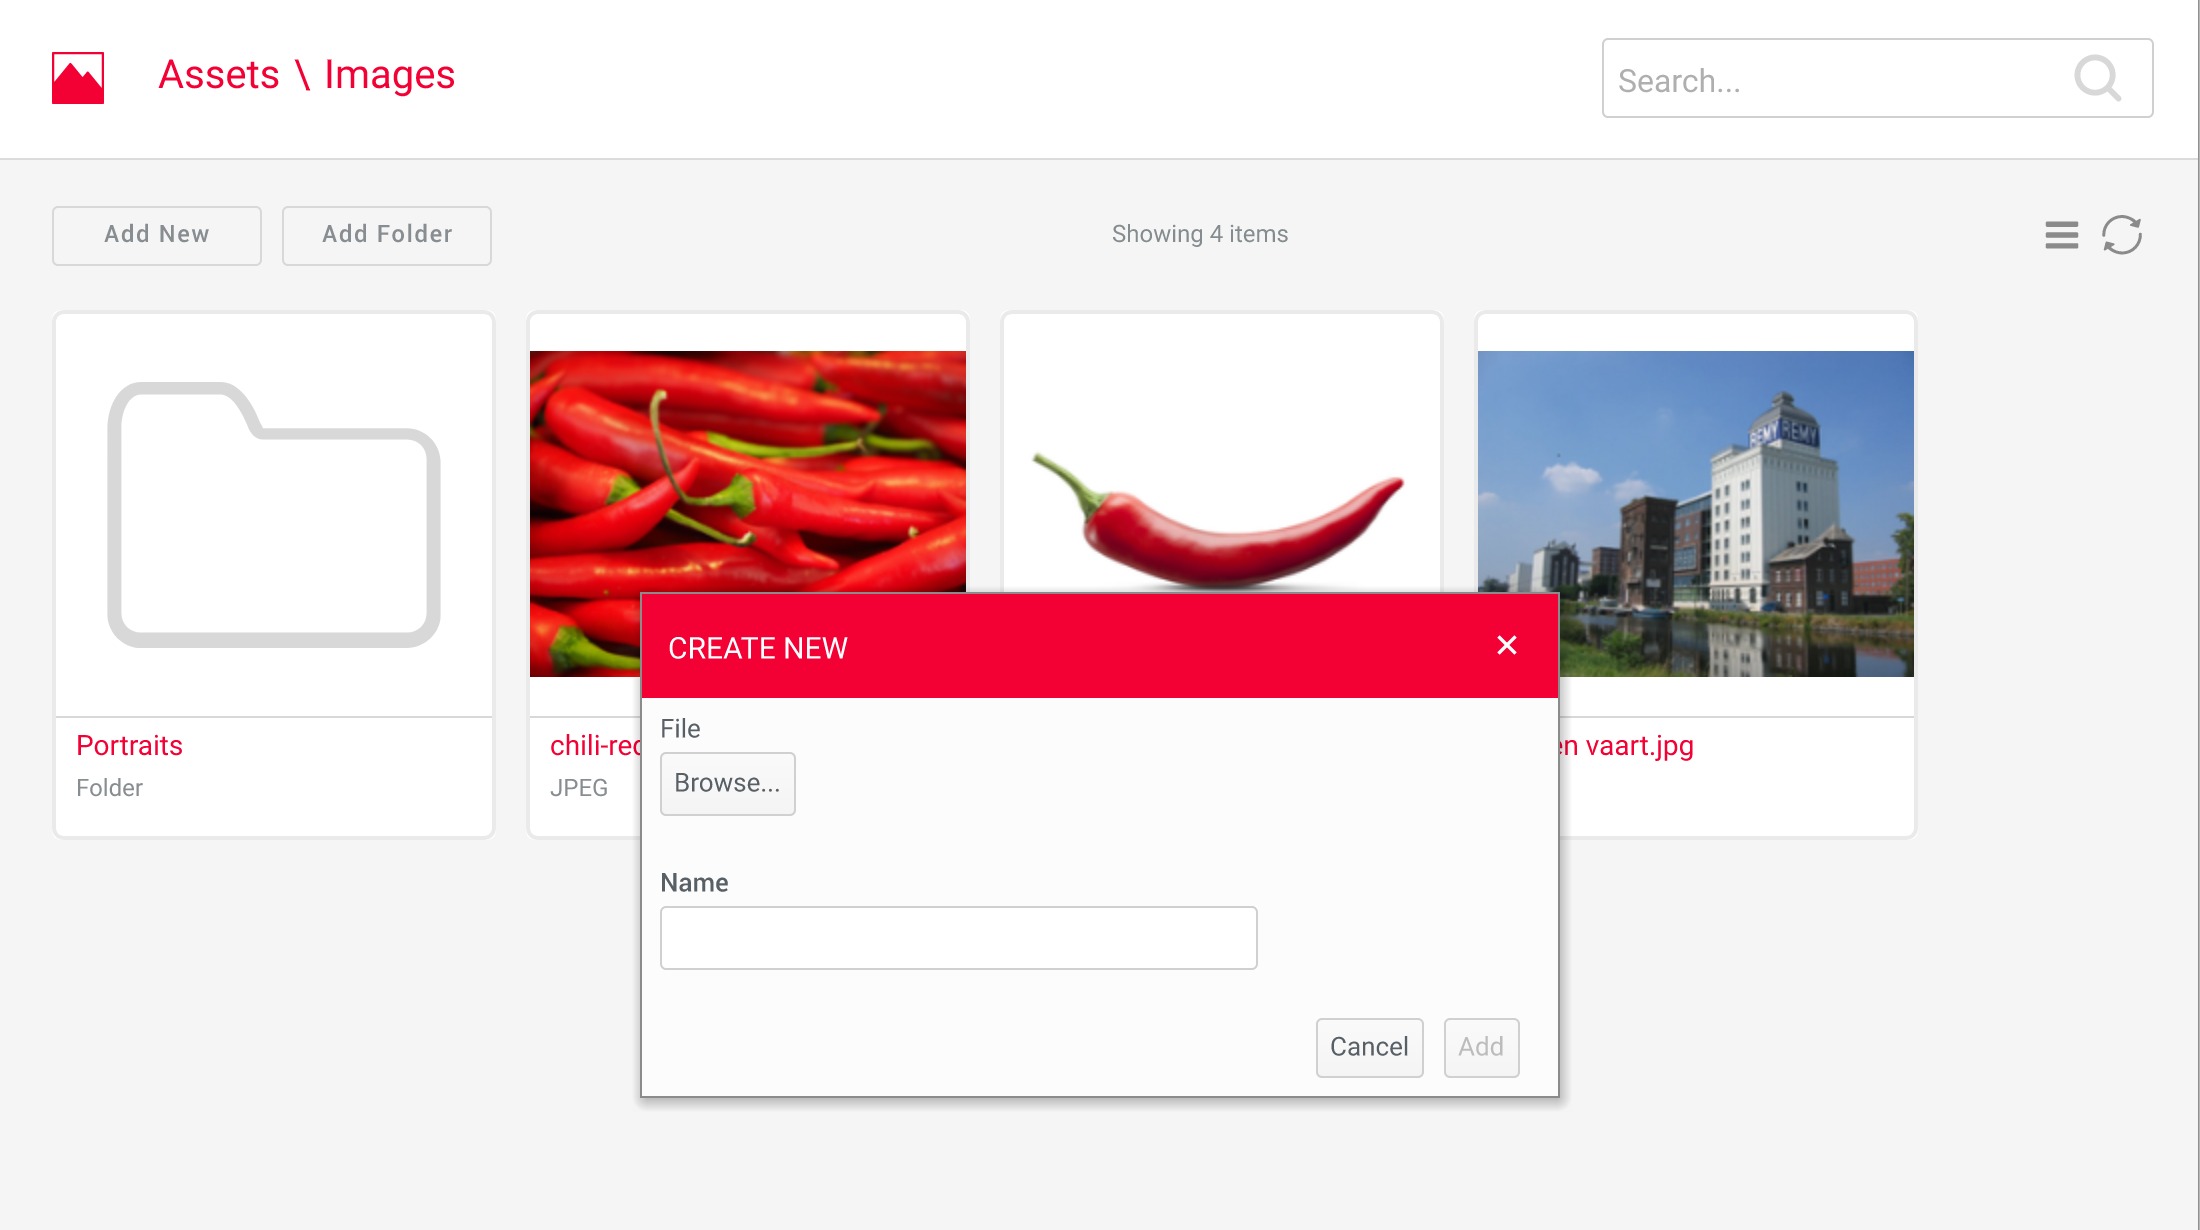
You can upload files to the BackOffice, in folders you created. In the asset manager, you click the "Add new" button, and you choose a file from your local system or attached storage. Clicking the "add" button will start the file upload. When uploading a zip file, it will be unzipped on the server. This will create its content (including directory structure) in the specified location.
Through the Adobe plugin
You can also import assets during the Adobe import process to Chili through the Chili plugin. You will have the choice of where your fonts, assets, and document should live.
Was this article helpful?
That’s Great!
Thank you for your feedback
Sorry! We couldn't be helpful
Thank you for your feedback
Feedback sent
We appreciate your effort and will try to fix the article