If you're in the process of onboarding a large group of people to Divvy, it may seem a little daunting to go through the typical, two-step invitation and role assignment process required for adding individual users (one-by-one) to your account. To simplify this effort, we've created a bulk import feature that should speed up the process substantially. Post import, all you'll have to do is finalize their role assignments.
TABLE OF CONTENTS
The Divvy Details
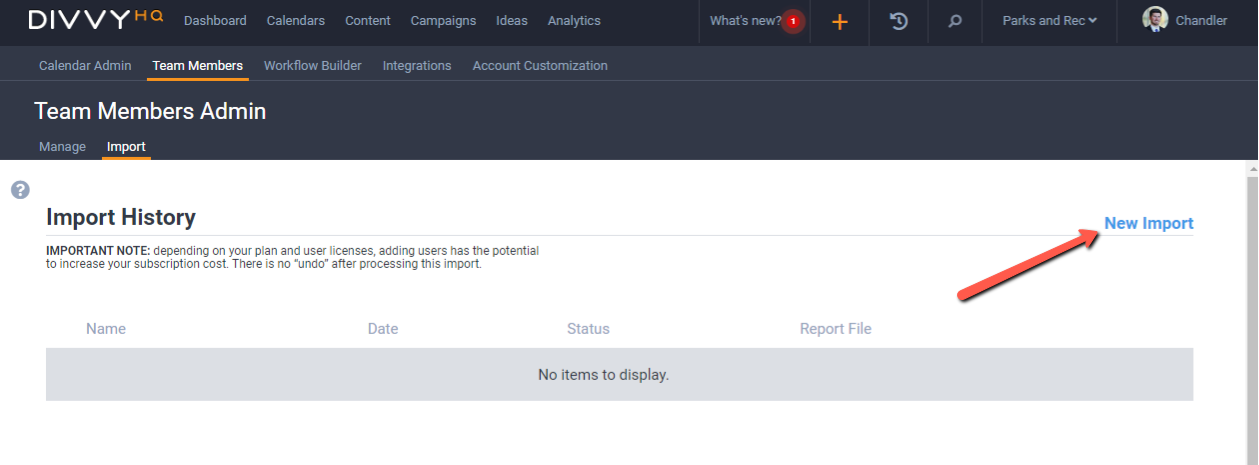
To start a Team Member bulk import, you’ll first want to navigate to the Team Members interface, which can be found by clicking your name/photo in the top right and selecting "Account Admin" in the dropdown menu. From there, select the "Team Members" tab in the top left. From the Team Members interface, select the ‘Import’ tab.

Once there, click the blue link in the top right titled ‘New Import’.
From here, the fun begins! You’ll start by downloading our CSV template that provides you with a few examples of how to fill in your Team Member information. The required columns that we'll need for each Team Member includes:
- First Name
- Last Name
- If they are a reviewer or not (if they are going to be a reviewer only, then input "True", otherwise input "False" for regular users)

When you have your CSV file ready to go, you can drag your file into Divvy or upload it from the file explorer.
Once the file has been uploaded, you should see a new section called ‘Map Fields’ that allows you to select the Divvy field that corresponds to each column in your CSV file. You can also rename your import if desired.

After you’ve mapped your fields, you are ready to click the ‘Start Import’ button! You’ll see a Success banner showing you that the import has started. Depending on the size of your import, the import process may take a minute. Feel free to navigate away from the import screen if you don't want to wait.
Once the system has fully processed your import, the Import History interface will provide a report with one of three statuses:
- Success
- Waiting
- Error

If you see the ‘Success’ status on your import, congratulations! Your team members have been imported and they are almost ready to rock and roll.
If you have a particularly large amount of Team Members in your import, you could see the ‘Waiting’ status temporarily on your import while it finishes up.
If you see the ‘Error’ message, our system must have gotten hung up on something. Luckily, we generate a Report Log that will allow you to see exactly what line number the error occurred and will give you the reasoning that it failed. Once those have been corrected, you can repeat the steps above to upload your CSV file and all you have to do is wait for the import to finish!
Final Step - Role Assignment Adjustments
When new team members are imported, they are automatically assigned our most common role, Contributor, on all calendars within your account. Now, considering our calendar access and role assignment features are very flexible, and individual team members might need very granular permissions on different calendars, an admin will still need to make any necessary adjustments to individual users' roles post-import.
Was this article helpful?
That’s Great!
Thank you for your feedback
Sorry! We couldn't be helpful
Thank you for your feedback
Feedback sent
We appreciate your effort and will try to fix the article